I’ll be straight with you — I tested this prompt in ChatGPT and the output genuinely surprised me. Before landing on this version, I wrote two or three different bokeh prompts and the results were average at best. The background blur looked artificial, edges were messy, and the face never quite matched the original. So I went back, studied what was going wrong, and modified the prompt step by step until I got something that actually worked. This is that final version — and I think every guy should try it at least once.
The one thing that separates a professional portrait from an ordinary phone selfie is background blur. That creamy, cinematic bokeh that pushes the subject forward and makes everything behind look like a professional studio shot. In 2026, creators across India want that DSLR look without owning a DSLR. This prompt delivers exactly that.
What Is DSLR Bokeh and Why Does It Matter for Your Photos
Bokeh is the blur you see in the background of professional photos — that soft, creamy effect that makes the subject pop out sharp and clear while everything behind melts into gentle circles of light. The word comes from the Japanese term for blur or haze.
On a real camera, bokeh is created by shooting at a wide aperture — typically f/1.2 to f/1.8 — using a prime lens like an 85mm portrait lens. The wider the aperture, the shallower the depth of field, and the more dramatic the background blur.
Most phone cameras simulate this with a portrait mode, but the results are often unnatural — harsh edges, patchy blur, and a face that looks cut-and-pasted onto a background. A well-written AI prompt can actually do this better because it understands the entire image holistically rather than just cutting around detected edges.
The Full DSLR Bokeh Prompt (Copy and Paste Ready)
This is the prompt I refined after multiple failed attempts. Use it in ChatGPT with GPT-4o image mode or in Google Gemini:
Prompt: Use the uploaded image as the base image. Strictly preserve the original person, face, hairstyle, pose, outfit, framing, camera angle, and exact composition — 100% face match, no structural or proportional changes. Maintain the exact original aspect ratio and framing — no cropping, no zooming, no resizing, no stretching. Enhance to ultra-high resolution (8K quality) with refined micro-sharpness and realistic skin texture detail. Keep natural daylight exposure — do NOT darken the image. Preserve original brightness, white balance, and color accuracy. Apply a strong professional DSLR shallow depth of field effect (simulating f/1.2–f/1.4 aperture). Create very strong, creamy, smooth background bokeh with heavy optical lens blur. Background must be significantly blurred while the subject remains tack sharp. Ensure clear subject separation with natural depth falloff. Blur intensity should be high and clearly noticeable, but edges of the subject must remain clean and unaffected. Maintain natural lighting, soft highlights, balanced contrast (no heavy contrast), realistic skin tones with subtle glow, clean color grading, and natural exposure. Avoid dark cinematic tones. Ultra-realistic, photorealistic, extremely detailed, strong background blur, subject razor sharp — no new elements, no pose change, no object removal, no text, no watermark.
How to Use This Prompt Step by Step
Step 1 — Open the right tool
Open ChatGPT and make sure you are in GPT-4o mode with image generation enabled. Alternatively, open Google Gemini on desktop or mobile.
Step 2 — Upload your photo
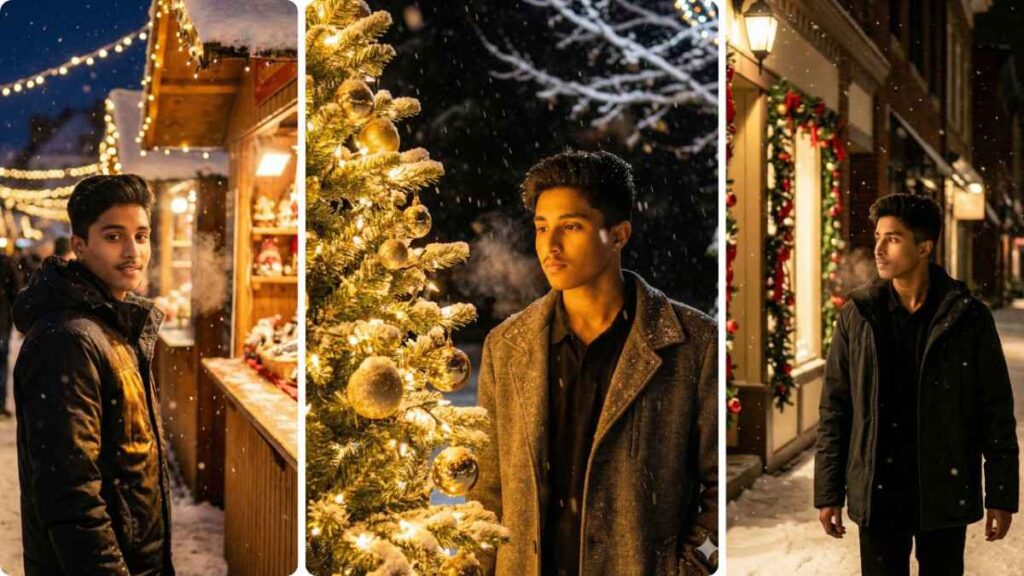
Choose a clear, well-lit photo where your face is visible and the background has some texture — a street, trees, a wall, or a building. These backgrounds become dramatically beautiful when blurred.
Step 3 — Paste the prompt
Copy the full prompt above and paste it into the chat. Do not shorten it. Every line in that prompt serves a specific purpose.
Step 4 — Generate
Hit send and wait. ChatGPT typically takes 15 to 30 seconds to generate the result.
Step 5 — Check these three things
First, is your face still exactly the same? Second, are the edges around your hair and shoulders clean? Third, does the brightness match your original photo — not darker, not washed out?
Step 6 — Download and share
If the result looks good, download it. This works great as an Instagram DP, WhatsApp profile photo, LinkedIn headshot, or YouTube thumbnail.
Why Every Line in This Prompt Exists
Most people copy a basic bokeh prompt like “add background blur and make it look professional” and wonder why the result looks fake. Here is exactly why this prompt is built the way it is.
“100% face match, no structural or proportional changes” — Without this, AI tools subtly change your jawline, eye shape, or nose. This instruction locks your identity.
“Do NOT darken the image” — This is the most common AI mistake. Every tool has a tendency to push portrait edits toward dark cinematic tones. This line prevents that.
“Simulating f/1.2–f/1.4 aperture” — Instead of saying “add blur,” this tells the AI exactly how much blur. f/1.2 is an extremely wide aperture that produces dramatic, heavy bokeh — the kind you see in expensive portrait photography.
“Edges of the subject must remain clean and unaffected” — This is what separates a realistic bokeh from a phone portrait mode. Clean edges make the result look like an actual photograph, not a digital cutout.
“No new elements, no pose change, no object removal” — AI loves to be creative. Without this instruction, it might change your outfit, remove your bag, or add a plant behind you. This keeps everything exactly as it was.
Which Photos Work Best With This Prompt
Photos that give the best results:
A well-lit selfie or portrait taken outdoors during the day. Natural daylight backgrounds — trees, streets, buildings, open fields — blur into the most beautiful bokeh. A photo where your face takes up at least 40 percent of the frame works best.
Photos to avoid:
Very dark or low-light photos, heavily filtered photos, group shots where multiple people are close together, and blurry input photos. The AI enhances what is already there — it cannot fix a bad source image.
One pro tip:
If you have a photo taken indoors near a window, try it. Soft diffused window light produces some of the most natural-looking results with this prompt because the lighting is already balanced and flattering.
ChatGPT vs Gemini — Which One Works Better for This Prompt
I tested this prompt in both tools. Here is what I found honestly:
ChatGPT (GPT-4o) gave better background blur quality. The bokeh felt more optically accurate — circular, smooth, and consistent. The face preservation was also stronger, meaning my original features stayed intact.
Google Gemini was faster and sometimes gave a slightly brighter result, which looked good for outdoor daylight photos. But the edge separation around hair was occasionally messier than ChatGPT.
My recommendation: start with ChatGPT. If you do not have access to GPT-4o image mode, Gemini is a solid second option.
Best Places to Use Your Bokeh Portrait
Instagram DP and Grid — A sharp subject against a soft blurred background immediately makes your profile look like it belongs to a professional photographer or influencer.
WhatsApp Profile Photo — Bokeh portraits stand out in any chat list. The subject sharpness makes your face instantly recognizable even at a small thumbnail size.
LinkedIn — Natural lighting combined with professional depth of field creates a headshot quality that most people pay thousands of rupees to a photographer for.
YouTube Thumbnails — A blurred background naturally pulls the viewer’s eyes to the face. This is exactly why professional YouTubers always shoot with DSLR bokeh for thumbnails.
Pinterest — Portrait edits with clean bokeh consistently get saved and repinned because they look aspirational and visually satisfying at a glance.
Common Mistakes Guys Make When Using Bokeh Prompts
Using a dark selfie as input. The prompt preserves brightness but cannot create light that was never there. Start with a bright photo.
Shortening the prompt. Every sentence in that prompt removes one failure mode. Remove a line, and that failure comes back.
Not checking the edges. After the result comes out, zoom into your hair and shoulders. If the edges look jagged or there is a weird glow around your outline, the tool did not separate you cleanly. Try again with a photo that has more contrast between you and the background.
Adding more filters on top. The result of this prompt is already complete. Putting a heavy Instagram filter on top makes it look over-processed and fake.
Frequently Asked Questions
Does this prompt work on group photos? It works best on solo portraits. With multiple people in the frame, the AI struggles to decide which subject to keep sharp and which to blur.
Can I use this on an old photo? Yes, as long as the photo is reasonably clear. Very old or heavily compressed photos will give weaker results because the AI has less detail to work with.
Will my face change after the edit? This prompt specifically instructs the AI to preserve your face with 100 percent accuracy. In most cases the result is identical. Occasionally with complex backgrounds, there may be minor changes — in that case, try a different photo with a cleaner background.
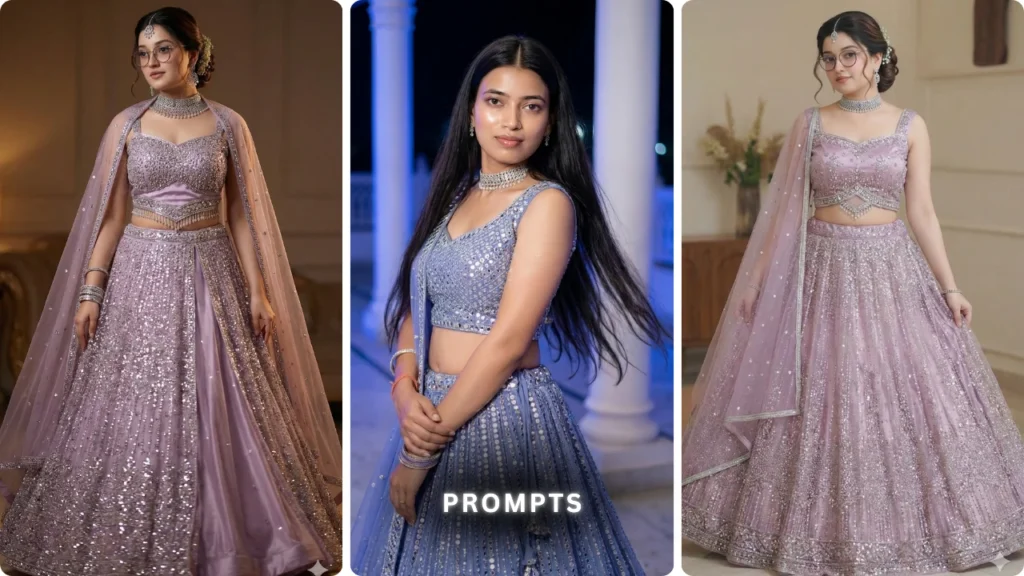
Does this work for girls too? The prompt works for anyone. This article focuses on boys but the prompt itself has no gender limitation.
Is this free to use? ChatGPT’s free tier has limited image generation per day. GPT-4o with image generation works on the paid plan. Google Gemini offers image editing on the free tier with some limitations.
Final Thoughts
I wrote two or three versions of this prompt before this one. Each earlier attempt had something off — the blur was too aggressive, the face changed slightly, or the whole image came out darker than the original. This final version fixes all of that.
The output quality I got from ChatGPT using this prompt was genuinely better than what I expected — and better than anything my earlier attempts produced. If you have been looking for a simple way to make your photos look like they were shot on a professional camera, this is the easiest starting point I have found.
Try it once. I think the result will speak for itself.